Directions for Planting
Planting into your aquarium is a super easy but crucial part of your setup. Master the proper methods for planting and propagating aquatic plants to ensure healthy establishment and long-term success. This guide will walk you through each step of the process.
Essential Tools
Basic Planting Tools
Must-have tools:
- Aquascaping tweezers: 20 - 30cm long (dependent on tank size), fine-tipped for precision.
- Aquascaping scissors: Straight or curved blade for easy trimming.
- Small container: For plant preparation and root untangling.
- Spray bottle: Keep emersed plants moist during planting.
Situational tools:
- Substrate rake: For levelling and creating planting holes.
- Plant weights: Use rocks, wood or anything that sinks.
- Fixtures: For attaching plants to hardscape or weights.
- Fork: To remove and clean rock wool.

Preparing Your Plants
In order for the highest rate of success, a few steps need to be taken before planting.
Preliminary Actions:
Release from Packaging
- Gently loosen the plant and pull by base (not leaves) out of packaging.
- Adding some water or cutting the packaging can help release the plant more easily.
Separate Stems/Roots Clumped Together
- Disentangle stems and roots that are twisted together. Cut roots that are too long.
- Some plants can be split apart or into sections.
Clean and Trim Plants
- Remove any yellow or mushy leaves and roots, keep healthy white/cream roots.
- Cut stem plants to desired length and remove lowest leaves for burying.
Pro-tip: Keep plants moist at all times during preparation and planting.
Planting Techniques
There are two main planting methods for aquarium plants: planting into substrate and attaching to hardscape. The best method depends on your plant type and desired location. Some plants work with both methods, while others require a specific approach.
Planting Into Substrate
Most plants are suitable for planting into substrate including major groups such as stem plants, crown plants, grass-like plants, rhizome plants and carpeting plants. Below is a step by step guide.
Implant Method:
Create Planting Hole
- Make a hole 3 - 4cm deep in the substrate that will allow the plant to fit inside. Stem plants do not require this step.
Grip Plant/Stem
- Align the roots in the same direction and use angled tweezers to gently clasp the top of the roots.
- Plants with small root systems can be gripped by their rhizome or stem base.
Insert Plant/Stem
- Bury roots and stem 3 - 4cm into the substrate at a slight angle.
- Slowly release tweezers and retract out from substrate in a gentle shaking motion.
- Shaking motion fills any cavities with substrate and secures the plant in place.
Cover and Firm Substrate
- Cover the planting area fully with substrate by sweeping surrounding substrate onto the location, and flatten.
Pro-tip: It is far easier to plant in a deeper substrate.
Attaching To Hardscape
Securing plants to hardscape is another useful method that works well to create depth and interesting positions for your plants. Either thread or superglue can be used to attach the plants. Plants can even be wedged into a gap or crevice in your hardscape.
Rhizome plants and mosses are suitable for attaching to hardscape.
Tying and Wedging Method:
Position Plant
- Position plant on hardscape, and check orientation and placement.
- Hardscape can either be already fixed in the aquarium or a new piece ready to be placed inside.
Secure to Hardscape
- Wind thread multiple times (4 - 5 recommended) around rhizome/body and hardscape.
- Tie off thread with a knot or apply a dab of superglue instead.
- Alternatively, gently wedge plant into gap or crevice until secure.
Placement of Plant with Hardscape
- Once secure, place plant and hardscape in desired location.
Pro-tip: Thread material can be cotton or any line. Brown or clear thread stays hidden.
Gluing Method:
Prepare Surfaces
- Ensure that both the plant and hardscape are not too wet so that the superglue can adhere properly.
- It is not advisable to use this method to attach plants to hardscape already underwater, refer to tying method instead.
Secure to Hardscape
- Apply superglue to hardscape and press and hold plant down onto the glue for 30 seconds.
- Allow 2 minutes curing time before placing into aquarium.
Placement of Plant with Hardscape
- Once secure, place plant and hardscape in desired location.


Monitoring After Planting
It is crucial to monitor your plants closely for the first four weeks after planting. During this time it is important to check your plant’s adaptation progress and overall health and condition.
Weeks 1 & 2:
Check For Displacement
- Replant any floating plants that have become detached from the substrate or hardscape.
- Roots need time to develop into the substrate.
Remove Plant Debris and Damaged Parts
- Trim and remove yellowing or dying leaves and plant material promptly.
- This will not harm the plant and is a very common practice that promotes new growth.
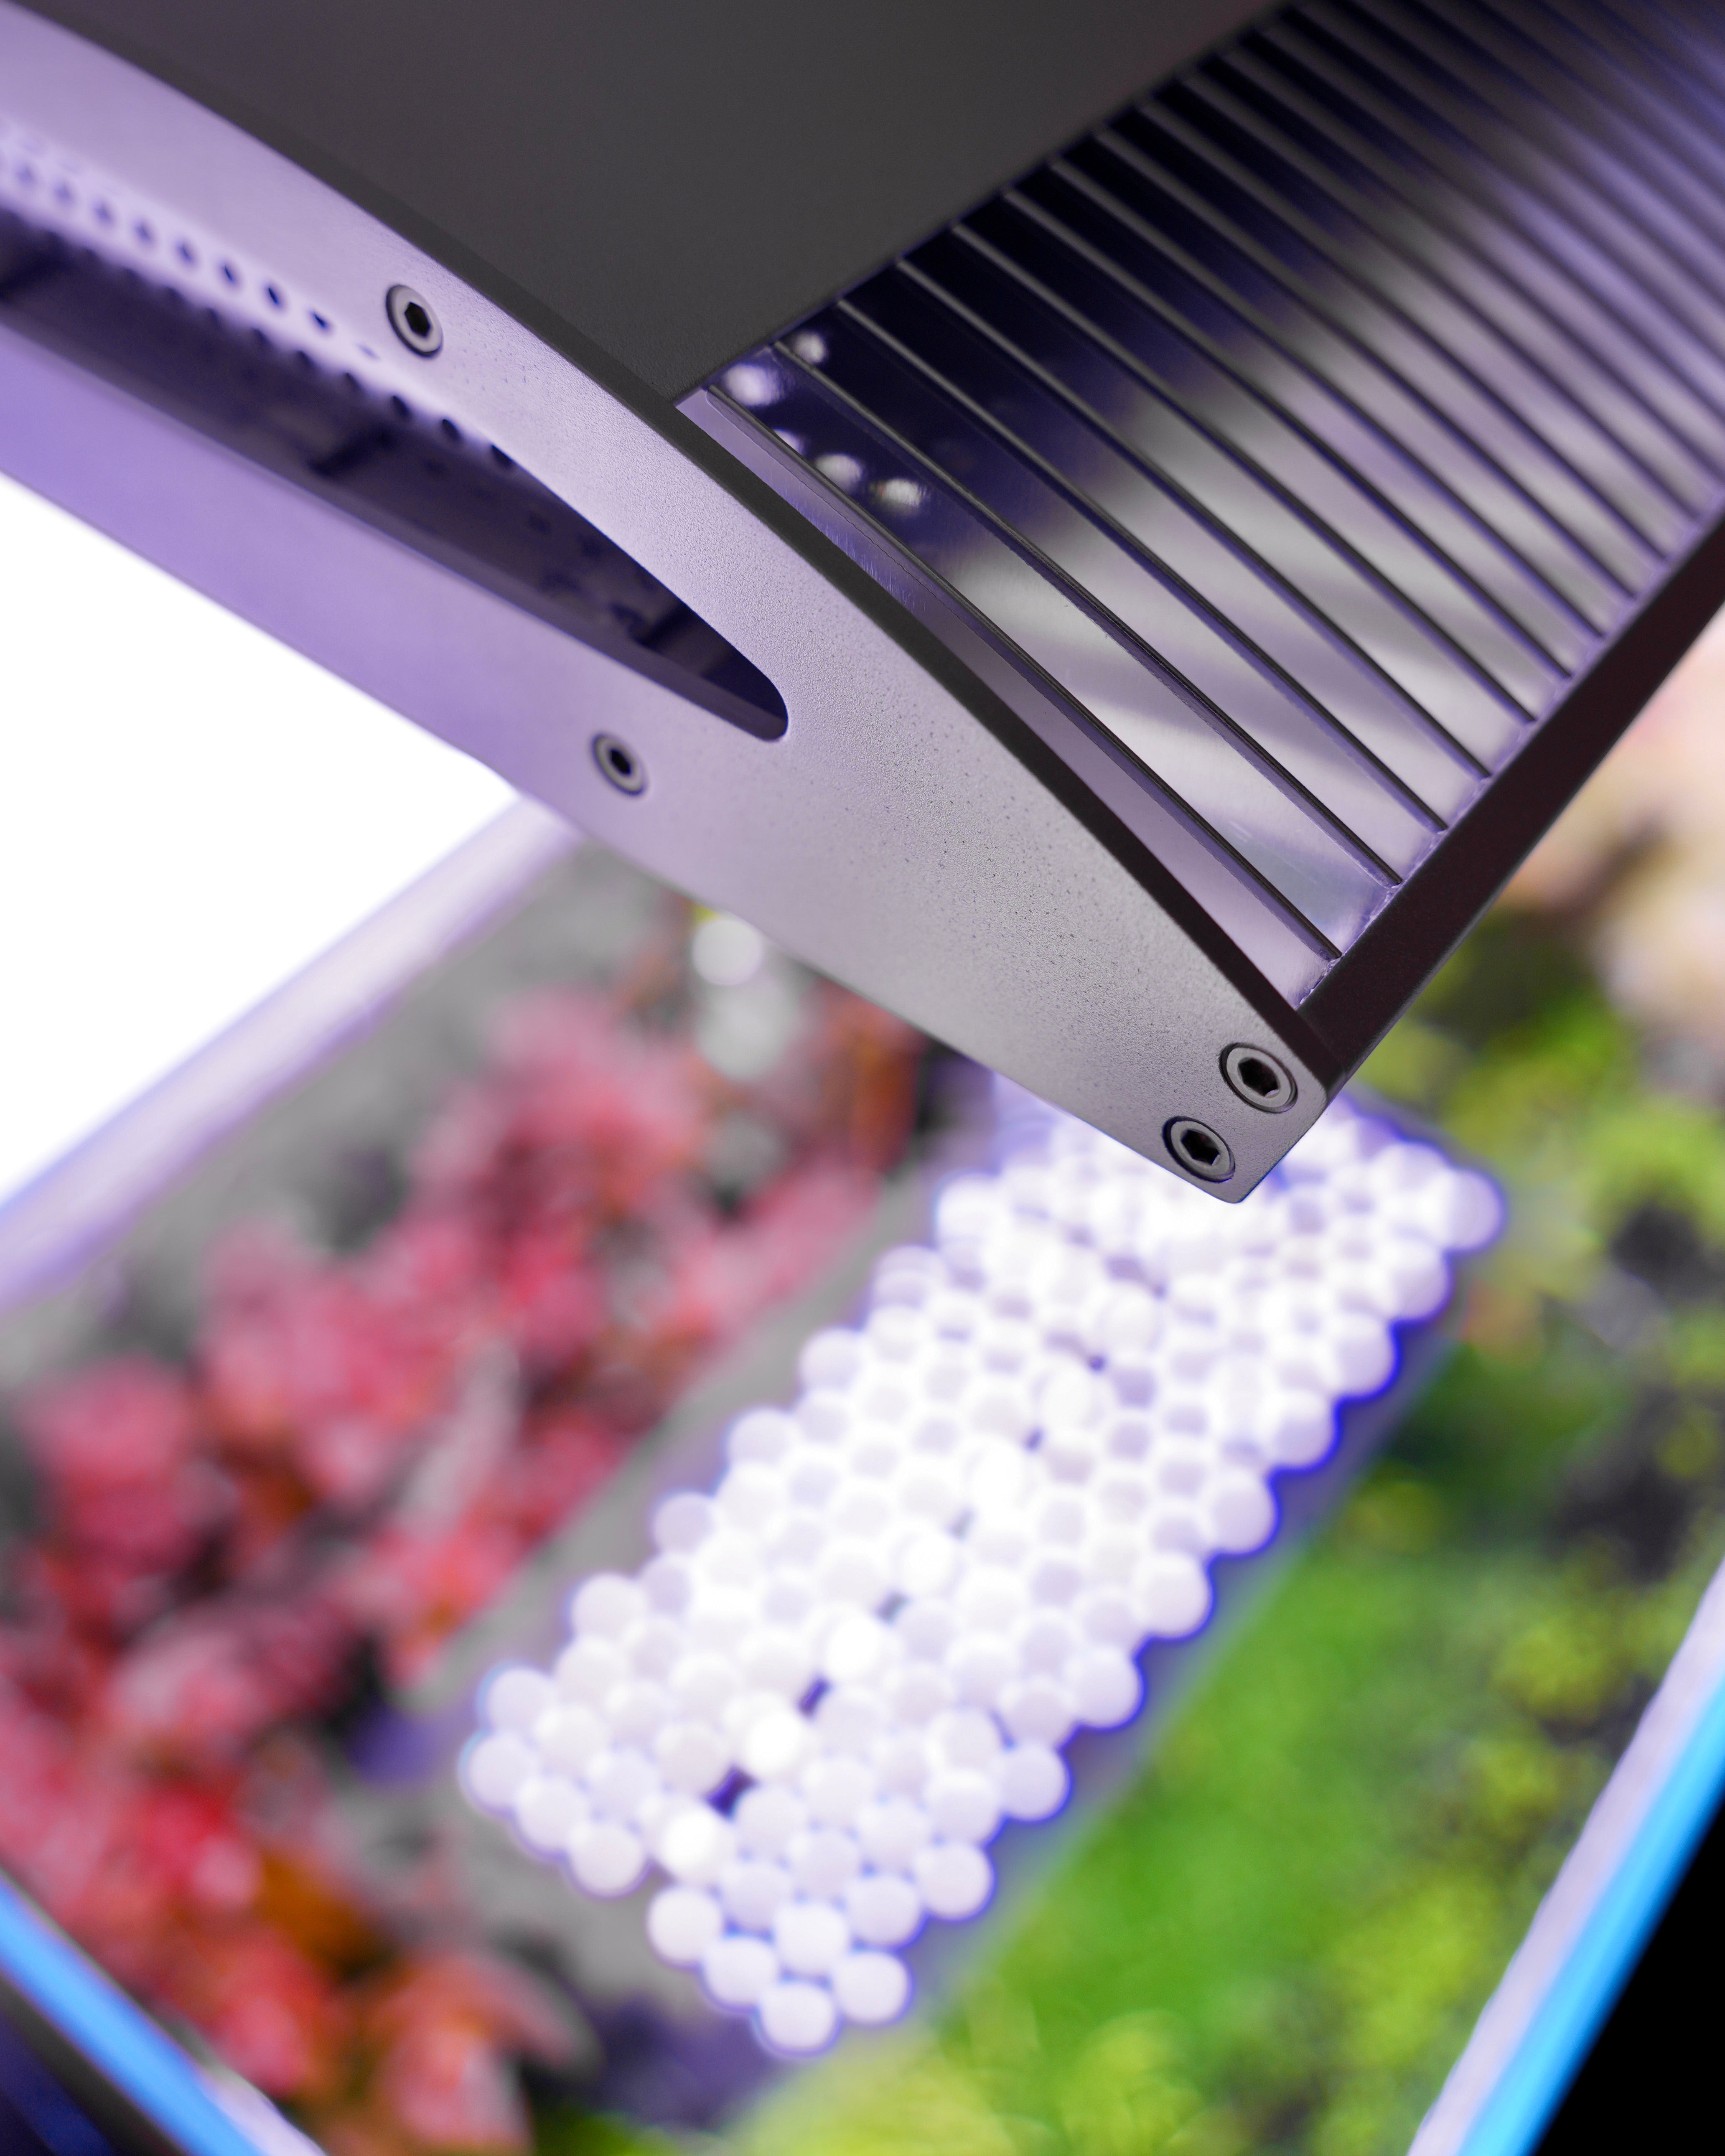
Monitor Parameters
- Ensure water parameters are stable, and pay particular attention to the three components of plant growth: light, fertiliser and CO2.
Weeks 3 & 4:
Evaluate Progress of Plant Adaption
- Identify which plants have established well and which are struggling.
- Fast growing plants have new growth of leaves and roots.
- Slow growing plants may still be stabilising and need longer to flourish.
Diagnosis and Treatment of Plants
- Identify symptoms of struggling plants through a combination of resources, research or contacting us.
- Action should be taken to adjust conditions and parameters to improve plant health and growth.
Final Thoughts
Introducing new plants to your aquarium is an exciting step that brings fresh life and beauty to your underwater world. While the process may seem detailed at first, each step helps set your plants up for lasting success. With a little patience and care, you’ll soon see vibrant new growth and enjoy the satisfaction of watching your aquascape flourish. By following these techniques, you’re taking steps to ensure the best possible start for your plants.